Now Reading: Best Stuffed Peppers (Juicy, Flavor-Packed & Oven-Baked to Perfection)
-
01
Best Stuffed Peppers (Juicy, Flavor-Packed & Oven-Baked to Perfection)
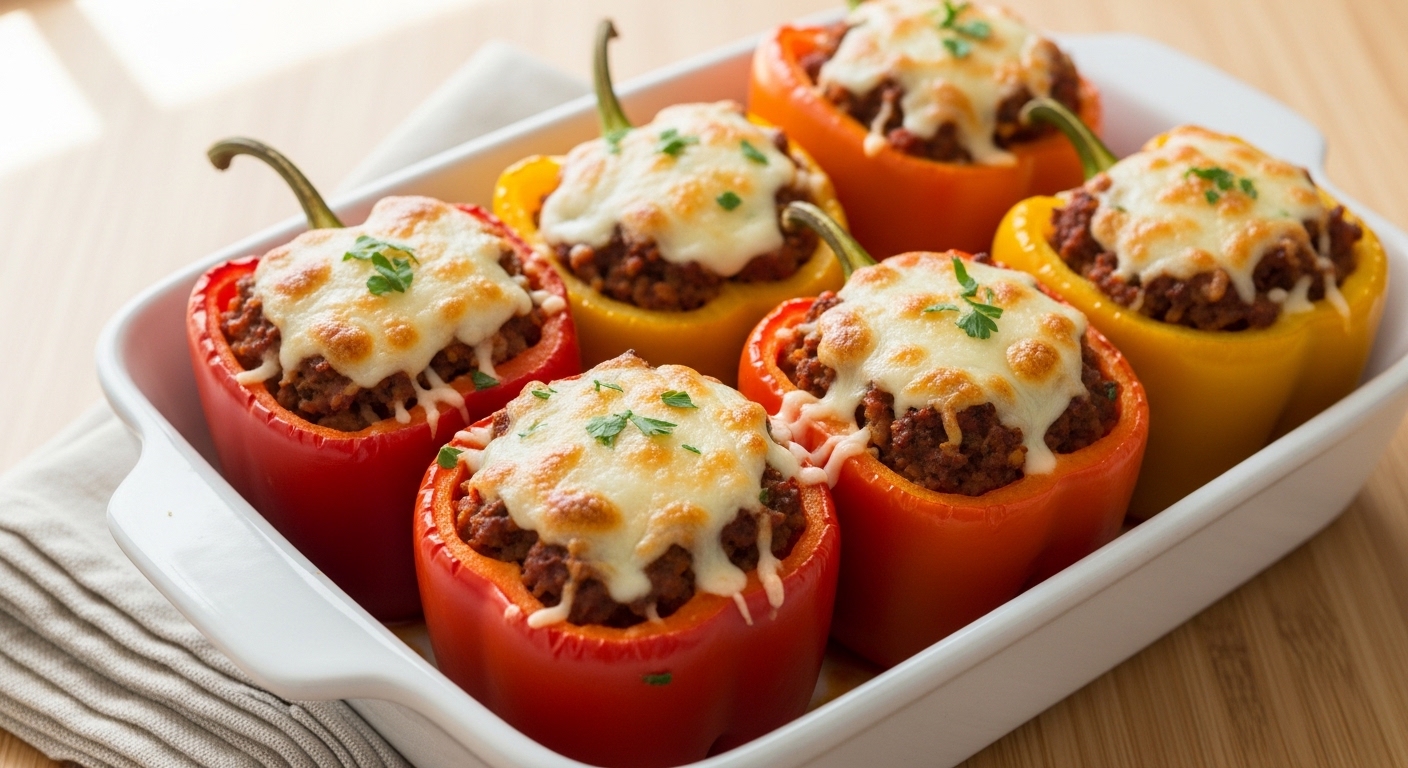
These Best Stuffed Peppers are juicy, flavor-packed, and oven-baked to perfection, with tender beef, rice, and bold seasoning in every bite.
Introduction
Dry filling. Watery peppers. Bland rice hiding inside a soggy shell — that’s what most stuffed pepper recipes deliver. And somehow we’re supposed to accept that as comfort food? No chance.
You followed the steps. You baked them forever. And still, the peppers collapsed while the filling turned crumbly or greasy. That’s not your cooking — that’s bad structure and worse timing.
These Best Stuffed Peppers fix every one of those problems. The filling stays juicy, the rice cooks perfectly inside without turning mushy, and the peppers soften just enough while holding their shape. We build flavor in layers, control moisture on purpose, and bake at the right temperature — not just “until tender.”
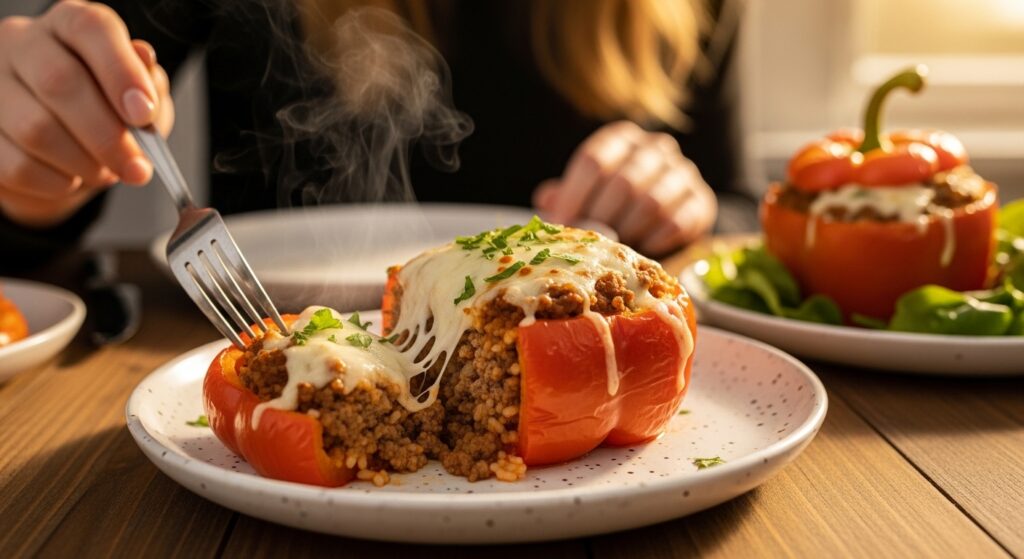
You’ll cut into one and see steam rise, melted cheese stretch, and a center that’s rich, cohesive, and actually seasoned. Ready to do stuffed peppers the right way?
Quick Answer
The Best Stuffed Peppers combine seasoned ground beef, partially cooked rice, tomato sauce, and aromatics, then are stuffed into hollowed bell peppers and baked at 375°F (190°C). The key is pre-softening the peppers and controlling moisture in the filling. Bake until the tops brown slightly and the centers reach 165°F (74°C) for safe, juicy results.
Why You’ll Love This Recipe
- Juicy, Not Greasy — The filling stays moist because we balance tomato sauce and rice correctly, rather than drowning everything in liquid. You get rich flavor without oil pooling at the bottom.
- Tender Peppers That Hold Shape — Pre-baking the peppers prevents collapse and watery bottoms. They soften evenly while still standing tall on the plate.
- Layered Flavor in Every Bite — Garlic, onion, and seasoning are cooked first, not dumped in raw. That extra five minutes changes everything — and you’ll taste it.
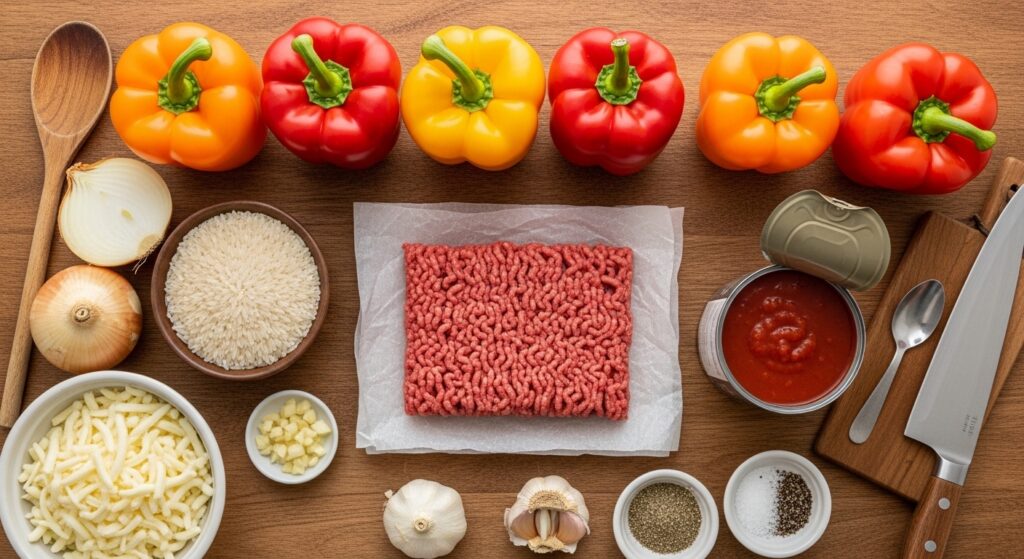
Ingredients List
Dry Ingredients
Long-grain white rice — ¾ cup (150 g)
Kosher salt — 1 teaspoon (5 g)
Black pepper — ½ teaspoon (2 g)
Italian seasoning — 1 teaspoon (3 g)
Wet Ingredients
Ground beef (85/15) — 1 pound (450 g)
Yellow onion, finely diced — 1 cup (150 g)
Garlic, minced — 3 cloves
Tomato sauce — 1½ cups (360 ml)
Worcestershire sauce — 1 tablespoon (15 ml)
Vegetables & Toppings
Large bell peppers (any color) — 6
Shredded mozzarella — 1 cup (100 g)
Fresh parsley — 2 tablespoons (8 g)
Every ingredient has a purpose — skip one, and you’ll notice.
Ingredient Notes & Smart Swaps
Ground Beef: Use 85/15, not leaner. Everyone says lean beef is healthier — but that’s wrong for this dish because you lose moisture and flavor during baking.
Rice: Par-cook it for exactly 8 minutes before mixing. Fully raw rice won’t cook evenly in the pepper, and fully cooked rice can turn mushy.
Bell Peppers: Choose firm, evenly shaped peppers that sit flat. Thin-walled peppers collapse faster, and that ruins presentation and texture.
Tomato Sauce: Use plain sauce, not chunky pasta sauce. Chunky versions release extra water and separate during baking.
Swap Option: Ground turkey works, but add 1 tablespoon olive oil to compensate for the lower fat content. Without it, the filling can turn dry in 30 minutes in the oven.
Step-by-Step Instructions
- Preheat your oven to 375°F (190°C). Slice the tops off the peppers and carefully remove the seeds, leaving the walls intact.
- Place hollowed peppers upright in a baking dish and add ¼ cup of water to the bottom. Bake for 12 minutes to soften slightly. (Pro Tip: This prevents crunchy, undercooked pepper walls.)
- Meanwhile, bring rice to a boil and cook exactly 8 minutes, then drain. It should feel firm in the center — not fully tender yet.
- In a skillet over medium heat, cook beef until browned and crumbly, about 6–7 minutes. You should hear a steady sizzle and smell deep savory notes. Drain excess fat but leave a little for flavor.
- Add onion and garlic. Cook until translucent and fragrant, about 3 minutes — the mixture should look glossy, not wet.
- Stir in tomato sauce, Worcestershire, salt, pepper, and seasoning. Simmer 5 minutes until thickened slightly. (Warning: If it looks soupy, cook longer — watery filling ruins everything.)
- Fold in par-cooked rice gently. The mixture should hold together when pressed with a spoon.
- Fill peppers generously — slightly mounded on top — and cover loosely with foil. Bake for 25 minutes, then uncover, add the cheese, and bake for 10 more minutes, until melted and lightly golden. Centers should hit 165°F (74°C). (Pro Tip: Let rest 5 minutes so juices redistribute.)
Pro Tips for Perfect Results
Pre-Bake the Peppers — This step keeps them tender without drying out the filling. I skipped it once and instantly regretted it.
Simmer Before Stuffing — Thick filling sticks together better inside the pepper. Thin mixtures separate and leak liquid into the dish.
Rest Before Serving — Let them sit five minutes after baking. Cutting too soon releases juices and makes the center look loose.
Common Mistakes to Avoid
Overfilling with Raw Rice — Raw rice absorbs too much liquid and stays chalky in the center. Always par-cook first.
Using Extra Sauce on Top — More sauce sounds good, but it makes the peppers soggy. Keep moisture controlled.
Skipping the Drain Step — Leaving too much beef grease creates an oily filling. Drain, but don’t strip all flavor.
Variations & Substitutions
Mexican-Style: Add cumin, chili powder, and black beans. Beans increase fiber and help naturally bind filling.
Vegetarian Option: Replace beef with finely chopped mushrooms and lentils. Mushrooms add umami depth, while lentils lend a hearty texture.
Low-Carb Version: Swap rice for cauliflower rice, then sauté until the moisture evaporates. This works because cauliflower absorbs flavor while keeping carbs low.
What to Serve With It
Serve with garlic bread for texture contrast. A crisp green salad balances richness. Roasted zucchini pairs beautifully. Sparkling water with lemon or a light red wine keeps flavors bright. Great for family dinners or meal prep Sundays.
Storage & Reheating Instructions
Store cooled peppers in airtight containers for up to 4 days. Place a paper towel under them to absorb excess moisture — most people skip this trick.
Freeze individually wrapped peppers up to 2 months. Thaw overnight before reheating.
Reheat at 325°F (165°C) covered for 20 minutes. Add a tablespoon of water to the dish — steam restores moisture without overcooking.
Nutrition Facts (per serving)
NutrientAmount
Calories 390
Protein 28 g
Carbohydrates 32 g
Fats 18 g
Fiber 4 g
Sodium 620 mg
Key Vitamins/Minerals : Vitamin C, Iron, Potassium
FAQs
Why are my stuffed peppers watery?
Too much sauce or skipping pre-baking can cause excess moisture to be released. Peppers naturally hold water, so partial roasting first prevents pooling at the bottom.
Can I make stuffed peppers ahead?
Yes, assemble and refrigerate up to 24 hours before baking. Bring to room temperature 20 minutes before placing in the oven for even cooking.
Do I have to cook the meat first?
Absolutely. Raw meat won’t brown properly inside the pepper and can release excess grease. Pre-browning builds flavor and controls fat.
How do I keep peppers from collapsing?
Choose firm peppers and avoid overbaking uncovered. Too much heat dries walls and weakens the structure.
Can I freeze stuffed peppers?
Yes, freeze fully cooked and cooled peppers individually wrapped. Reheat covered so the filling stays moist.
Conclusion
You don’t need bland, soggy stuffed peppers ever again. Control moisture. Par-cook rice. Pre-bake peppers. That’s the difference.
When you slice into one and see that juicy center with melted cheese stretching across the top, you’ll know you nailed it.
Try one of the variations next time — or stick with the classic and own it.
Make them this week, share how they turned out, and let me know if you ever go back to your old recipe. I doubt it.